Easy Dry Rub Chicken Legs: The Ultimate Crowd-Pleaser for Holidays & Summer
Few dishes evoke the joy of gathering with loved ones quite like perfectly cooked chicken legs. Whether it's a backyard barbecue under the summer sun or a cozy holiday dinner with family, chicken drumsticks are universally loved for their affordability, ease of preparation, and incredible flavor. But what if we told you there’s a secret to elevating them from good to absolutely unforgettable? The answer lies in a homemade dry rub grilled chicken legs recipe that promises crispy skin, tender, juicy meat, and a burst of irresistible flavor with every bite.
Forget spending hours in the kitchen or slaving over complicated marinades. This comprehensive guide will walk you through creating your own signature dry rub and mastering various cooking methods – from the classic grill to the convenient air fryer and traditional oven – ensuring your chicken legs are a hit, no matter the occasion. Get ready to impress your guests and delight your family with minimal effort and maximum deliciousness!
The Secret to Sizzling Success: Your Homemade Dry Rub Grilled Chicken Legs Recipe
The foundation of truly exceptional chicken legs is a well-balanced dry rub. While store-bought options are available, crafting your own homemade blend allows for complete control over the flavor profile, ensuring it perfectly suits your taste and avoids unnecessary additives. A homemade rub penetrates the meat, creating a beautiful crust and infusing every fiber with layers of savory, sweet, and subtly spicy notes. This isn't just a seasoning; it's a flavor enhancer that transforms simple chicken into something extraordinary.
Crafting Your Signature Dry Rub
The beauty of a dry rub is its versatility. You can adjust the spices to your preference, making it spicier, sweeter, or smokier. Here’s a fantastic foundational recipe for a homemade dry rub that works wonders on chicken legs:
- 2 tablespoons Smoked Paprika: Essential for a rich color and deep, smoky flavor.
- 1 tablespoon Brown Sugar: Helps create a beautiful caramelized crust and adds a touch of sweetness.
- 1 tablespoon Garlic Powder: A savory staple that complements almost any dish.
- 1 tablespoon Onion Powder: Adds another layer of aromatic savory flavor.
- 1 teaspoon Cumin: Earthy and warm, it adds depth.
- 1 teaspoon Chili Powder (or Cayenne Pepper): For a gentle kick, adjust to your desired spice level.
- 1 teaspoon Black Pepper: Freshly ground for best results.
- 2 teaspoons Kosher Salt: Essential for seasoning and tenderizing.
Simply combine all ingredients in a small bowl and mix well. Store any leftover rub in an airtight container in a cool, dark place for future use.
The Magic of Brining (Optional but Recommended!)
For chicken legs that are *exceptionally* juicy and tender, consider a quick brine. Brining helps the chicken absorb moisture and salt, preventing it from drying out during cooking and enhancing its natural flavor. While optional, it's a small step that yields significant results.
To make a simple brine:
- Dissolve 1/4 cup of kosher salt and 2 tablespoons of brown sugar in 4 cups of cold water.
- You can also add aromatics like bay leaves, peppercorns, or garlic cloves.
- Submerge the chicken legs in the brine for at least 30 minutes, or up to 2 hours, in the refrigerator.
- After brining, pat the chicken legs very dry with paper towels. This step is crucial for achieving that coveted crispy skin!
Even if you skip the brine, always pat your chicken legs dry before applying the rub. Excess moisture hinders the rub from adhering properly and prevents the skin from crisping up.
Mastering the Method: Grilling, Air Frying, or Oven Roasting
Once your chicken legs are prepped and coated with your delicious homemade dry rub, it’s time to cook them to perfection. The beauty of this recipe is its adaptability to various cooking methods, making it suitable for any season or kitchen setup.
Classic Grilling for Summertime Perfection
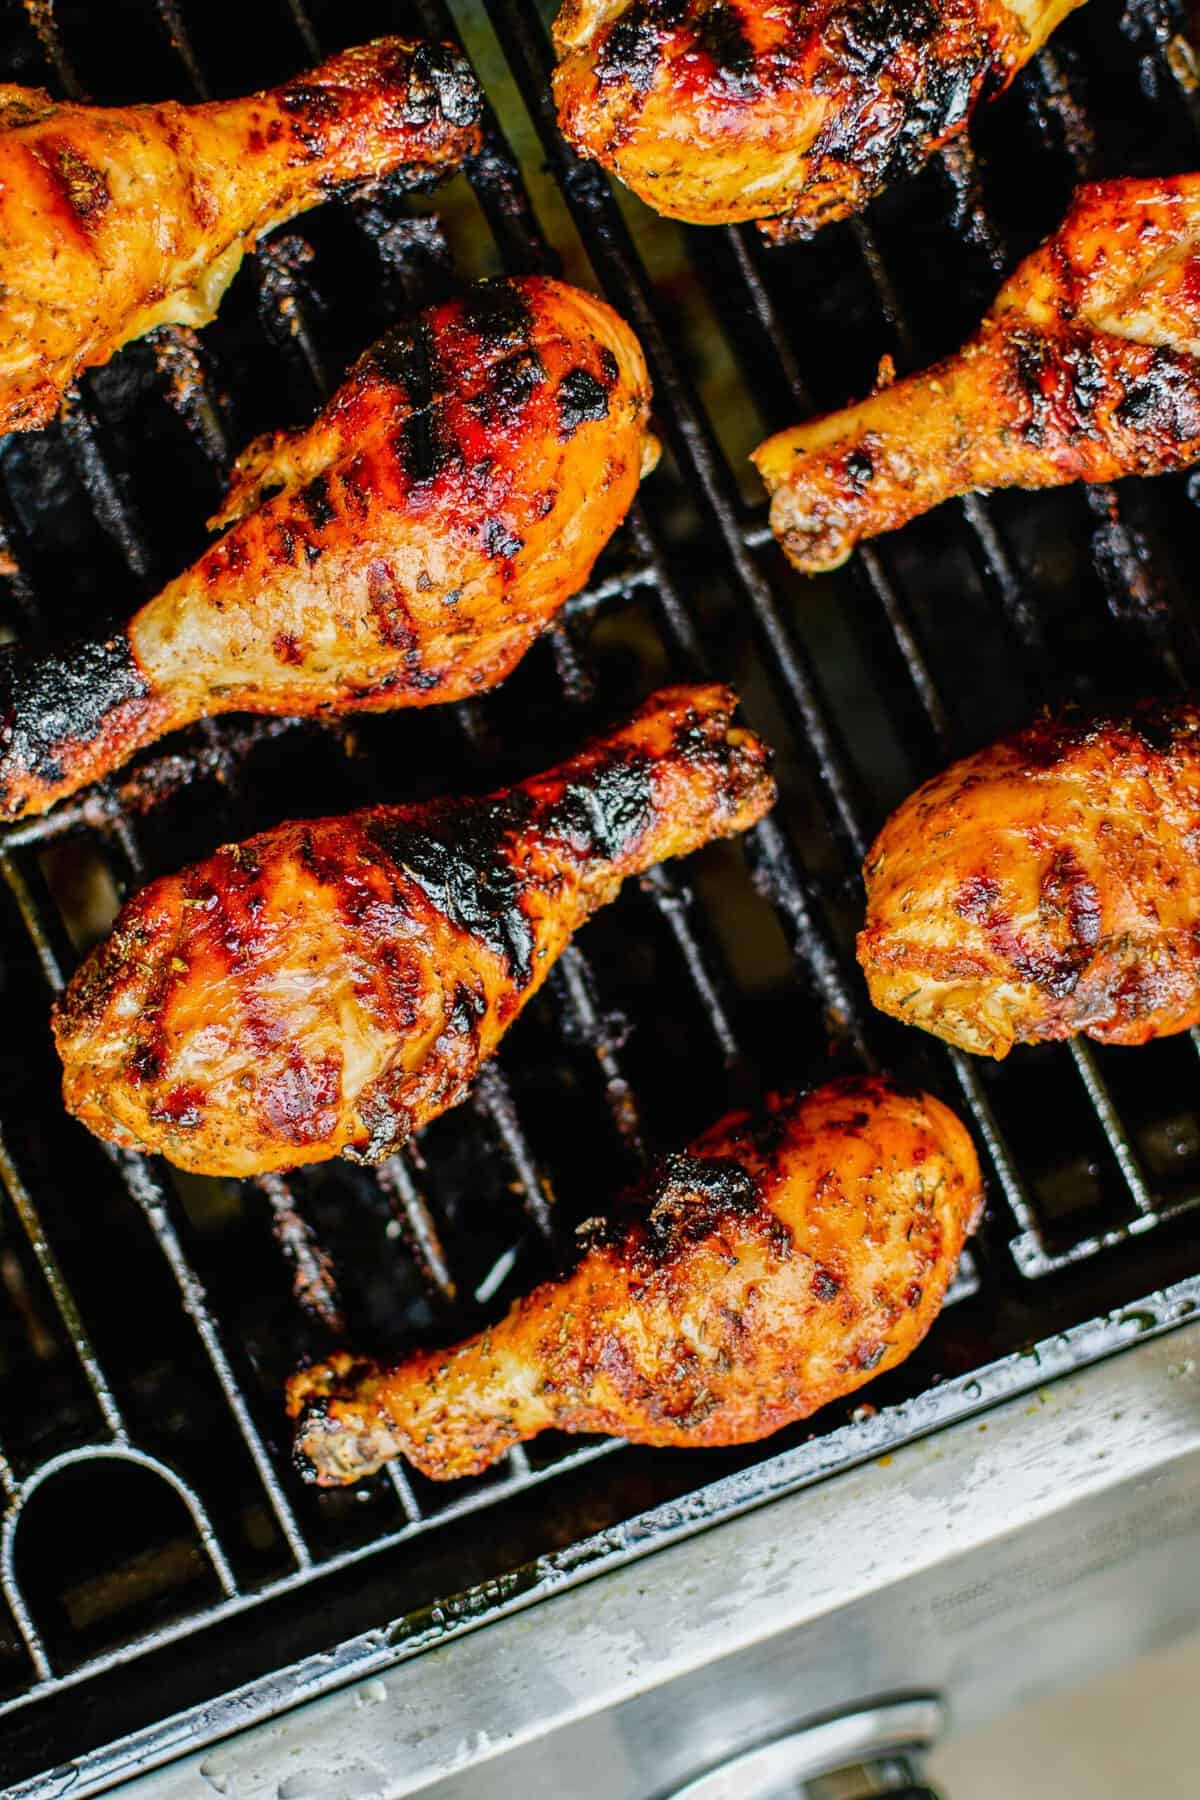
Grilling is synonymous with summer and is arguably the best way to achieve that smoky flavor and char that makes dry rub chicken legs so irresistible. Here’s how to get it right:
- Preheat Your Grill: Set your grill to medium-high heat (around 400-425°F or 200-220°C). For even cooking and to prevent burning, use a two-zone method if possible: one side for direct heat, one for indirect.
- Prepare the Chicken: Lightly oil the chicken legs (even with the skin on) before applying the dry rub. This helps the rub adhere and prevents sticking.
- Grilling Technique: Start by searing the chicken legs over direct heat for 2-3 minutes per side to get a nice crust. Then, move them to indirect heat, closing the lid. Cook for 20-30 minutes, flipping occasionally, until they reach an internal temperature of 165°F (74°C). This slower, indirect cooking ensures the chicken cooks through without burning the exterior.
- Rest: Transfer the cooked chicken to a platter, tent with foil, and let rest for 5-10 minutes before serving. This allows the juices to redistribute, ensuring maximum tenderness.
For more detailed grilling tips, check out our article on Homemade Dry Rub Grilled Chicken Legs: Crispy & Moist.
Air Frying for Quick & Crispy Results
The air fryer has revolutionized home cooking, and it's particularly fantastic for achieving crispy, juicy chicken legs with minimal fuss and oil. It’s an ideal method for holidays when your oven might be occupied, or for a quick weeknight meal.
- Preheat Air Fryer: Preheat your air fryer to 375°F (190°C) for 5 minutes.
- Arrange Chicken: Lightly spray the chicken legs with cooking oil (this helps with crisping). Place the chicken legs in a single layer in the air fryer basket, ensuring not to overcrowd it. Cook in batches if necessary.
- Cook and Flip: Air fry for 10 minutes, then flip the chicken legs and lightly spray again with oil. Continue cooking for another 10-15 minutes, or until the internal temperature reaches 165°F (74°C) and the skin is deeply golden and crispy. You might find this method yields incredibly Air Fryer Dry Rub Chicken Legs: Crispy, Juicy & Fast!
- Rest: As with grilling, let the chicken rest for 5 minutes before serving.
Oven Broiling: A Great Indoor Alternative
Don't have a grill or air fryer? Your oven can still deliver delicious dry rub chicken legs using the broil setting. This method mimics direct heat and can produce a lovely crispy skin.
- Preheat Oven & Broiler: Preheat your oven to 400°F (200°C) and set your broiler to high. Position an oven rack in the upper third of the oven.
- Prepare Pan: Line a baking sheet with foil for easy cleanup and place an oven-safe wire rack on top. Lightly spray the rack with cooking oil.
- Arrange Chicken: Place the dry-rubbed chicken legs on the wire rack.
- Bake, Then Broil: Bake for 20-25 minutes at 400°F (200°C) to cook through. Then, switch to broiler mode and broil for 3-5 minutes per side, watching carefully, until the skin is crispy and caramelized. Ensure the internal temperature reaches 165°F (74°C).
- Rest: Allow the chicken to rest for a few minutes before serving.
Tips for Unforgettable Dry Rub Chicken Legs
Beyond the rub and the cooking method, a few key insights can elevate your chicken leg game from good to truly gourmet.
Choosing Your Chicken Legs: Skin-On vs. Skinless
The choice between skin-on and skinless chicken legs is often a personal preference, but each has its benefits:
- Skin-On: Offers maximum crispiness and flavor, as the fat under the skin renders down, basting the meat and adding richness. It’s undeniably delicious, though higher in calories. The crispy skin is a major draw for many.
- Skinless: A healthier option with fewer calories and less fat. Don't worry about it drying out! If you're using an air fryer, the enclosed environment helps retain moisture. For grilling or oven cooking, a light spray of oil during cooking (especially when flipping) can significantly help keep skinless chicken legs tender and prevent them from becoming dry or tough. The homemade rub will still provide incredible flavor.
Doneness and Resting: The Keys to Juiciness
Overcooked chicken is tough and dry; undercooked chicken is unsafe. The best way to ensure perfect doneness is to use an instant-read meat thermometer. Chicken legs are fully cooked when they reach an internal temperature of 165°F (74°C) at their thickest part, avoiding the bone.
Equally important is the resting period. After removing chicken from the heat, its internal temperature will continue to rise slightly (carryover cooking), and the muscle fibers will relax, allowing the juices to redistribute throughout the meat. Cutting into chicken immediately after cooking causes those delicious juices to escape, leading to a drier result. Always allow your chicken legs to rest for at least 5-10 minutes, loosely tented with foil, before serving.
Making it a Meal: Serving Suggestions
Dry rub chicken legs are incredibly versatile and pair beautifully with a wide array of side dishes, making them perfect for any occasion:
- For Summer Grilling: Think classic BBQ sides like creamy coleslaw, grilled corn on the cob, potato salad, baked beans, or a refreshing watermelon salad.
- For Holiday Dinners: Roasted vegetables (carrots, Brussels sprouts, sweet potatoes), mashed potatoes, green bean casserole, or a fresh garden salad will complement the rich flavor of the chicken.
- Sauces: While delicious on their own, dry rub chicken legs can also be served with your favorite dipping sauce on the side – a tangy BBQ sauce, a zesty ranch, or a sweet honey mustard are all excellent choices.
Conclusion
From the simplicity of a summer barbecue to the warmth of a holiday feast, the homemade dry rub grilled chicken legs recipe is a versatile, delicious, and remarkably easy way to bring joy to any table. By crafting your own flavorful dry rub, you unlock a world of customizable tastes, ensuring every bite is exactly what you crave. Whether you opt for the smoky char of the grill, the speedy crispness of an air fryer, or the reliable heat of your oven, you're guaranteed juicy, tender chicken with an irresistible crust. So, gather your ingredients, fire up your preferred cooking method, and get ready to create unforgettable meals that will have everyone asking for your secret recipe!
